
Keep it simple and make it fun! Camp meals are one of the best parts of family camping. Preparing the meals in advance, testing the meals at home and involving the whole family in the process will help ensure success with minimal effort.
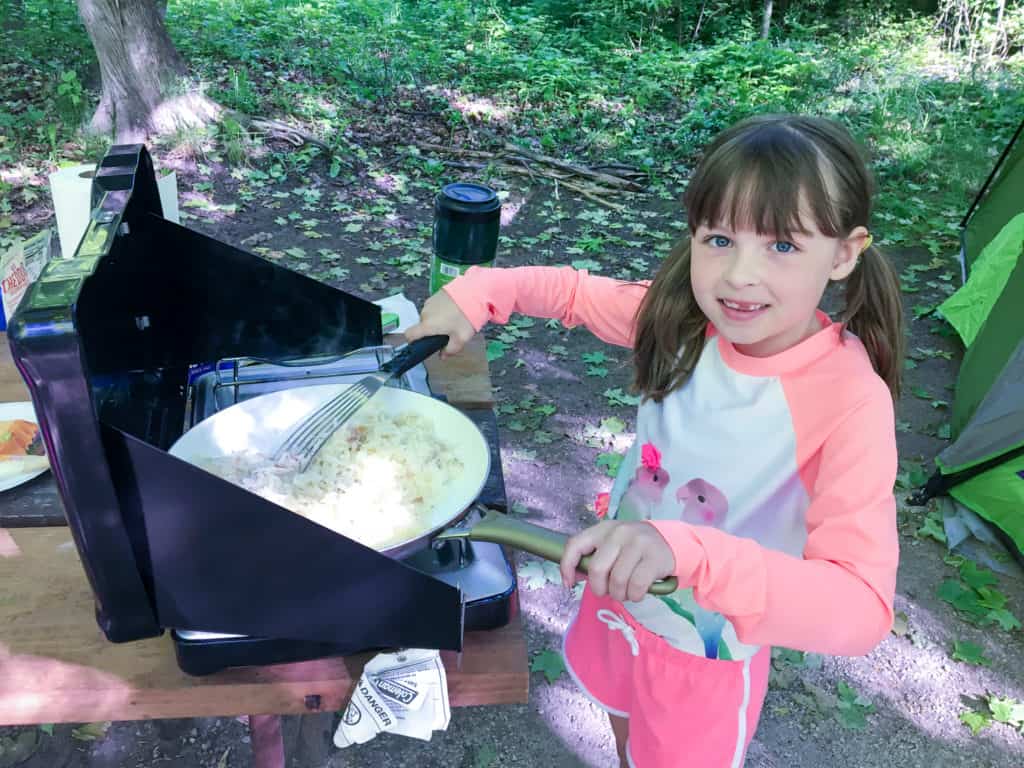
Before you go on your trip, get the whole family involved in meal planning, making sure to include a favorite dish for everyone. Kids will enjoy creating their own custom foil packs and wraps. Have fun testing a few recipes and practicing your camp cooking skills at home.
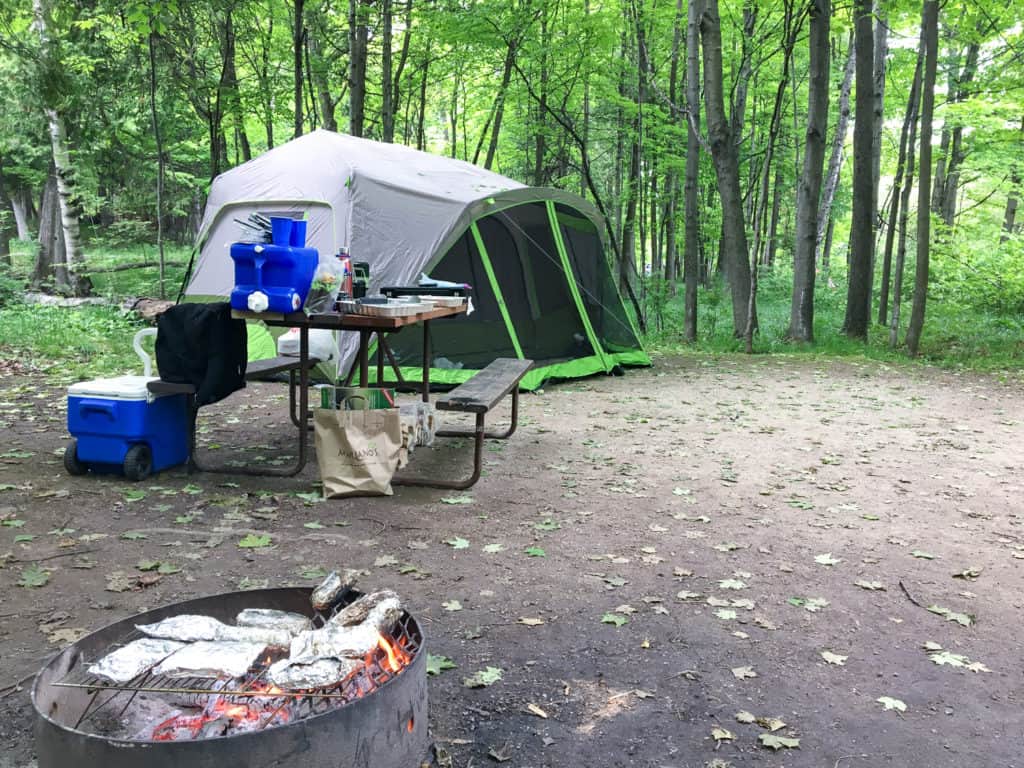
Cooking (or simply warming) camp meals can also be a fun family activity. Choose simple campfire meals when cooking with kids, like roasting marshmallows and hot dogs or simple but tasty foil packs and pie irons. Cooking over a fire can be risky with younger kids. Smoke can get into their eyes and there is the obvious risk of touching a hot surface, so make sure to practice fire (especially campfire) safety before you camp. Here is a good campfire 101 video from REI:
Most recipes here can be cooked outside on a portable propane stove using one pan, preferably a cast iron skillet. Foil packs, pie irons or campfire pizza will need to be cooked over a campfire using a grill grate. Whenever cooking on a grill grate over a campfire, never cook directly over flames. Always wait for the fire to die down and cook over the heat of the logs/coals.
Most campsites will have a firepit and many also have a grate, however, purchasing a camp grill grate is a wise investment. Basic grates are cheap and easy to pack. The grates at the campsite may be in poor condition or missing. Don’t forget to add heat resistant grill/oven gloves to your cooking tools. They work better than oven mitts for outdoor campfire cooking. Long barbeque tongs can be useful for flipping foil packs.
Here is a quick video on simple camp food prep tips including meat, eggs, and vegetables. It’s way easier than you think!
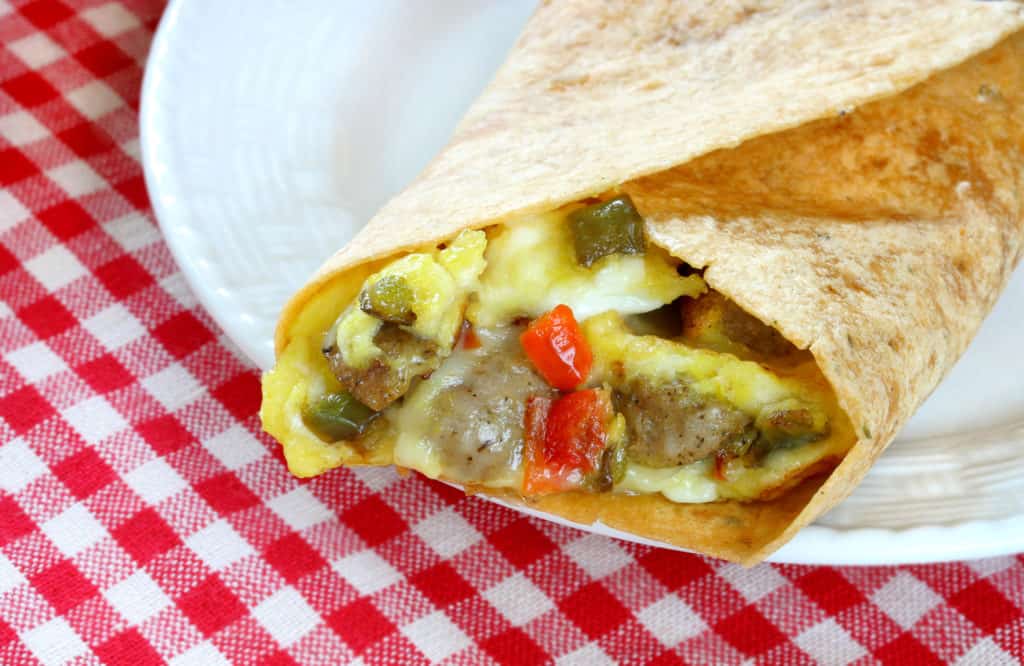
Breakfast Burritos (can be prepared at home and frozen)
- 8 Eggs, whisked
- 4- Large flour tortillas (burrito size)
- 1 lb. Bacon or breakfast sausage (cooked and crumbled/chopped) can substitute canned black beans for vegetarian option.
- Canned black beans, drained (optional)
- Oil for cooking
- Salt & pepper to taste
- Diced potatoes (1/2 bag frozen or 2 fresh)
- Shredded cheese
- Optional toppings: salsa, chopped green onions, chopped bell peppers.
- Heavy duty aluminum foil
Cook potatoes and cook bacon/sausage set aside to let cool. Cook scrambled eggs, season with salt and pepper. Combine with meat, potatoes, black beans, if using and any optional toppings. If making ahead, let cool. Once filling is cooled, fold into burrito and wrap in foil. Store in plastic bag to freeze. To heat at camp, thaw and warm in skillet or directly on grill while turning.
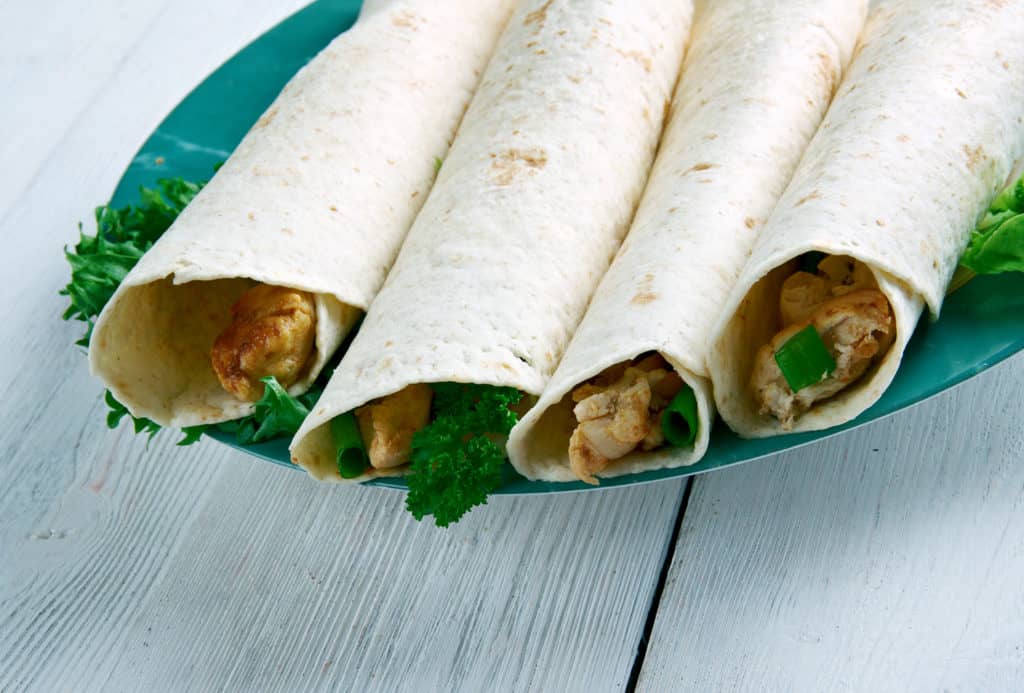
Breakfast Taquitos (can be prepared at home and frozen)
- Eggs (1-1.5 eggs per person) whisked
- Fully cooked frozen sausage links (omit for meatless option) 1 link per tortilla
- Oil for cooking
- Salt & pepper to taste
- Shredded cheese
- Flour tortillas
- Optional: veggies such as spinach, arugula or thinly sliced bell peppers, seasonings such as salt & pepper, and garlic powder to taste
- Heavy duty aluminum foil
Cook frozen sausages in skillet until brown and cooked through, remove from pan and keep warm, cook scrambled eggs in same pan, season to taste if using you can add your prepared vegetables the last few minutes of cooking, remove from heat. Place scrambled eggs, sausage and cheese in individual tortillas and roll tightly. You can eat right away or wrap in foil seam side down and toast in a pan or on a grill grate and make it toasty. If making ahead, place seam side down on piece of aluminum foil and wrap. Place in plastic bag to freeze. To heat at camp, thaw and warm in skillet or directly on grill while turning.
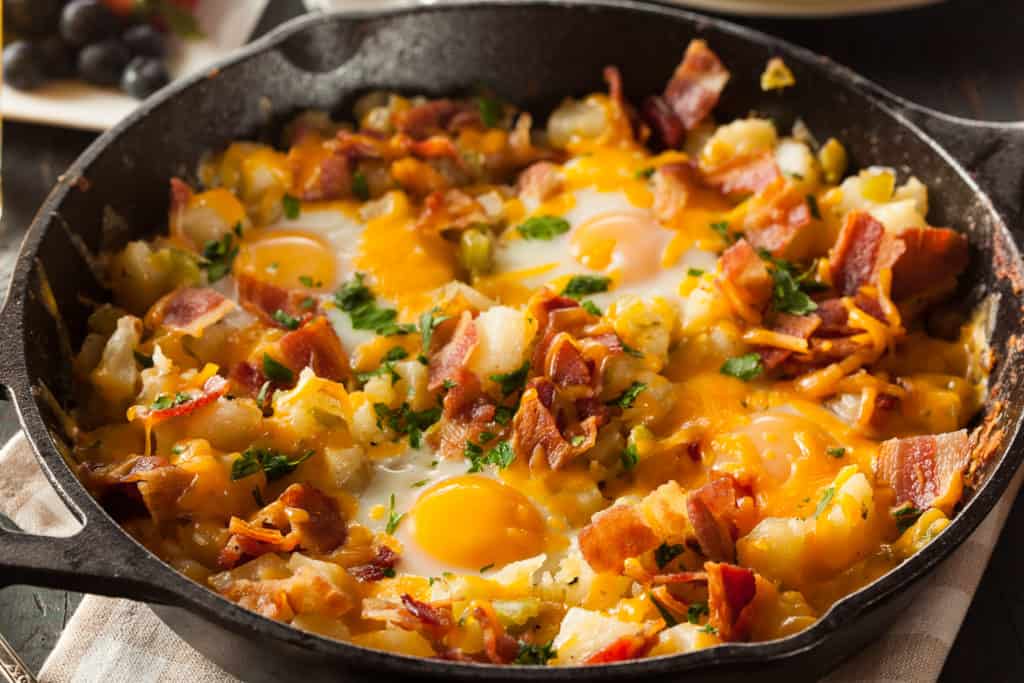
Camper’s Breakfast Skillet
If you want to cook this over a campfire, you can divide combined mixture of all ingredients between 4 squares of heavy-duty nonstick aluminum foil and cook over a fire on a grill for 8-10 minutes. Fold foil around mixture and seal well at the top.
- 1 package of frozen shredded hash browns (thawed)
- 1 cup diced ham
- 6 eggs, whisked (can cooked sunny side up instead)
- ½ cup milk (optional for creamier scrambled eggs can substitute with a splash of water)
- Oil for cooking
- Salt and pepper to taste
Cook potatoes in greased skillet until starting to brown, whisk in milk or water to eggs and add remaining ingredients, cook until eggs set.
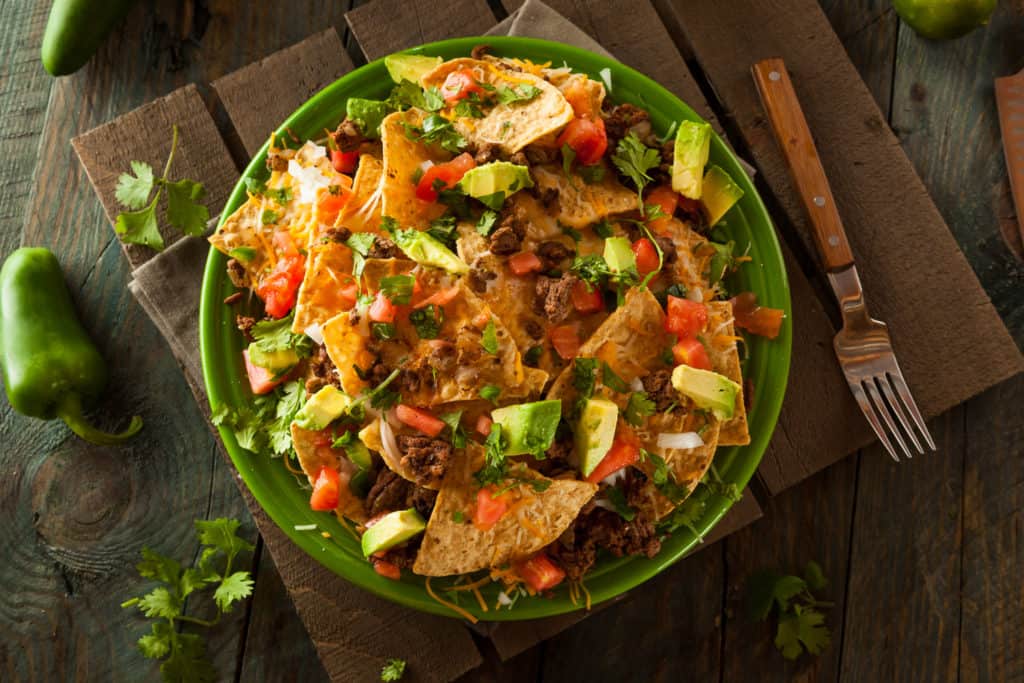
Campfire Nachos (can be made in a cast iron pan or a foil pan over a grill)
This meal can be made vegetarian by omitting beef and using extra beans or a combination of beans. Divide all ingredients below for 2-3 layers, depending on pan size.
- Nacho chips
- Seasoned and cooked ground meat (use premade taco seasoning or make your own)
- 1 TB chili powder
- ¼ tsp garlic powder
- ¼ tsp crushed red pepper flakes
- ¼ tsp dried oregano
- 1 ½ tsp ground cumin
- 1 tsp salt
- Canned beans, drained
- Salsa
- Shredded cheese
- Oil or cooking spray
- Heavy duty nonstick aluminum foil
- Optional fresh toppings such as sliced olives, sour cream, and guacamole
Coat bottom of your pan with oil or spray. Spread chips on bottom of pan, layer with meat, beans, salsa, and cheese, repeat for 2 or 3 layers. Cover with lid or foil and cook over fire on grill for 10-15 minutes until cheese is melted. Can also be heated through on a propane camp stove. Top with optional fresh toppings.
Campfire Pizza (cooked on a cast iron skillet on a grill)

- Refrigerated pizza dough
- Pizza sauce
- Cheese
- Oil for cooking
- Pizza toppings of choice
- Heavy duty nonstick aluminum foil (for cover)
Grease your skillet, unroll dough and place in skillet, fold over the sides if needed. Cook over your grill for 3-4 minutes until the bottom is brown. Remove from fire and flip crust, top with sauce, cheese, and toppings. Return to grill, cover, and cook until toppings are warm, and cheese is melted.
Sausage and Potato Foil Packets
- 1 package of refrigerated potato wedges*can substitute pre-boiled baby potatoes
- 4 hot dogs or fully cooked sausages
- Heavy duty nonstick aluminum foil
- Optional: Sliced Onion, shredded cheese,
- Optional Toppings: Barbeque sauce, mustard, ketchup
Place hot dog or fully cooked sausage on large piece of aluminum foil, top with potatoes, optional onion slices and cheese. Fold and seal tightly. Heat on grill grate for 10-15 minutes. Top with optional toppings.
Campfire Hash (can be made in skillet or foil pack)
- 1 Package of frozen o’brien potatoes, thawed
- 1 Can corn or frozen corn, thawed
- 1 lb. Smoked kielbasa or Polish sausage, halved and sliced
- Oil for cooking
Grease skillet and cook potatoes until starting to brown. Add sausage and corn and continue to cook until warmed through. If using foil packets, add all ingredients to large pieces of heavy-duty nonstick aluminum foil, fold, and seal tightly and cook on grill grate for 10-15 minutes.
Pie Iron Pizza
- White bread
- Shredded mozzarella cheese
- Pizza sauce
- Spreadable butter
- Cooking spray
- Optional: pepperoni slices, Italian seasonings
Spray inside of both sides of pie iron with nonstick cooking spray. Butter outer side of 2 slices of bread, and place buttered sides down on pie iron. Spread pizza sauce on top of the slices of bread, season with optional seasonings. Add mozzarella cheese and optional pepperoni slices on each slice of bread. Close pie iron and cook over hot coals or logs for 1- 1 minute 30 seconds on each side. Once done, carefully open pie iron, remove your pizza pie, transfer to a plate.
Pie Iron Ham & Cheese Sandwiches
- White bread
- Shredded cheese
- Spreadable butter
- Deli ham slices
- Optional: mustard
Spray inside of both sides of pie iron with nonstick cooking spray. Butter outer side of 2 slices of bread, and place buttered sides down on pie iron. Spread mustard (optional) on top of the slices of bread. Add cheese and deli ham slices on each slice of bread. Close pie iron and cook over hot coals or logs for 1 to 1 1/2 minutes on each side. Once done, carefully open pie iron, remove your sandwich and transfer to a plate.
Campfire Grilled Corn
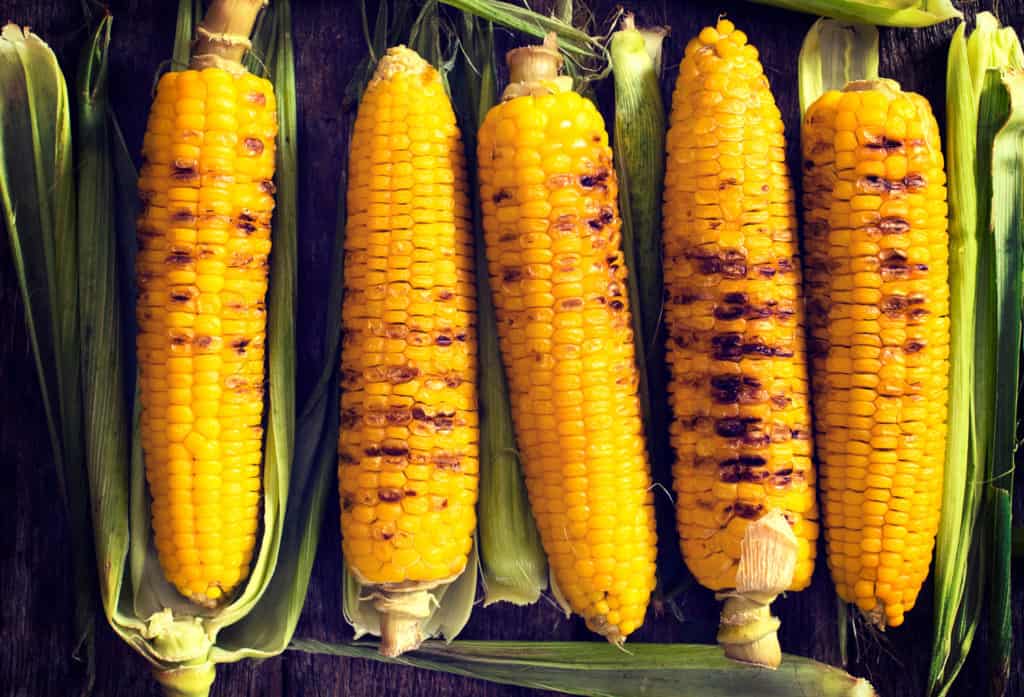
- Corn on the cob with husks
- Butter
- Salt
- Water for soaking
- Heavy duty nonstick aluminum foil
Pull back husks (keep attached) and remove silk threads. Fold husks back around corn and soak in water for 30 minutes. Wrap corn with husks tightly with foil. Cook on grill grate, turning every 5 minutes for 20- 30 minutes until tender. Using heat resistant gloves, carefully unwrap corn and pull back husks. Season with butter and salt.
Warm Mini Pies
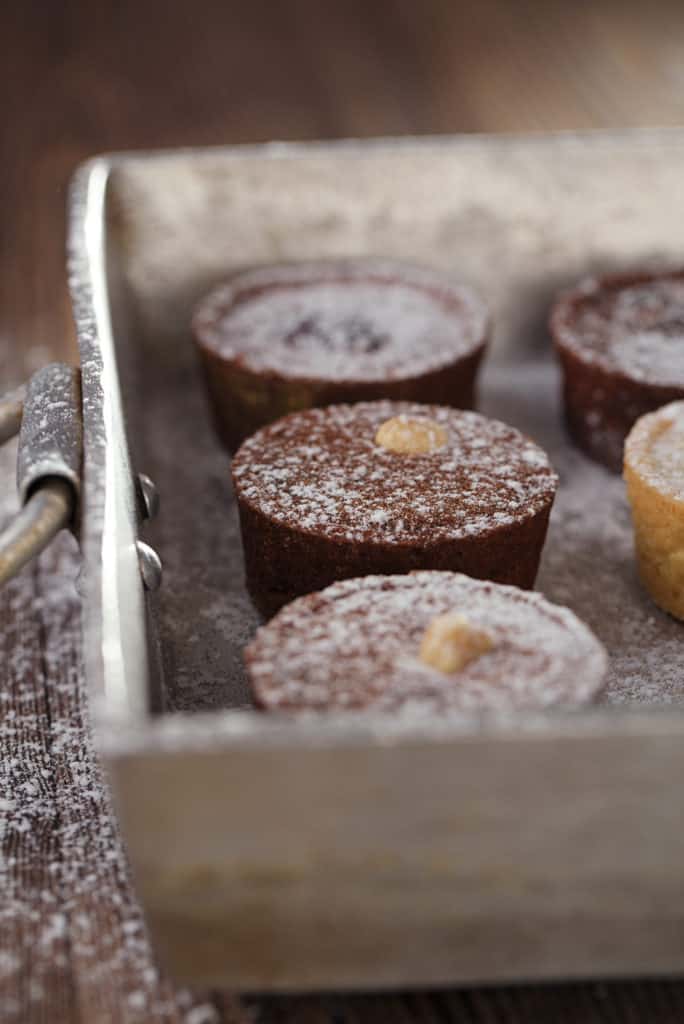
- Store bought mini pies (or other pastries)
- Heavy duty nonstick aluminum foil
Store bought mini pies can be warmed wrapped in foil in a skillet or on a grill grate for a few minutes to make an easy, warm treat.
Campfire Dessert Cones
- Sugar or waffle ice cream cones
- Assortment of favorite meltable candy: M & M’s, peanut butter chips, mini marshmallows, chocolate chips, Rolos, mini peanut butter cups, etc.
- Heavy duty nonstick foil
Fill cones with favorite sweets, wrap in foil and warm on grill grate while turning for 5-7 minutes, until melted.
Roasted Marshmallows and S’mores (yes please!)
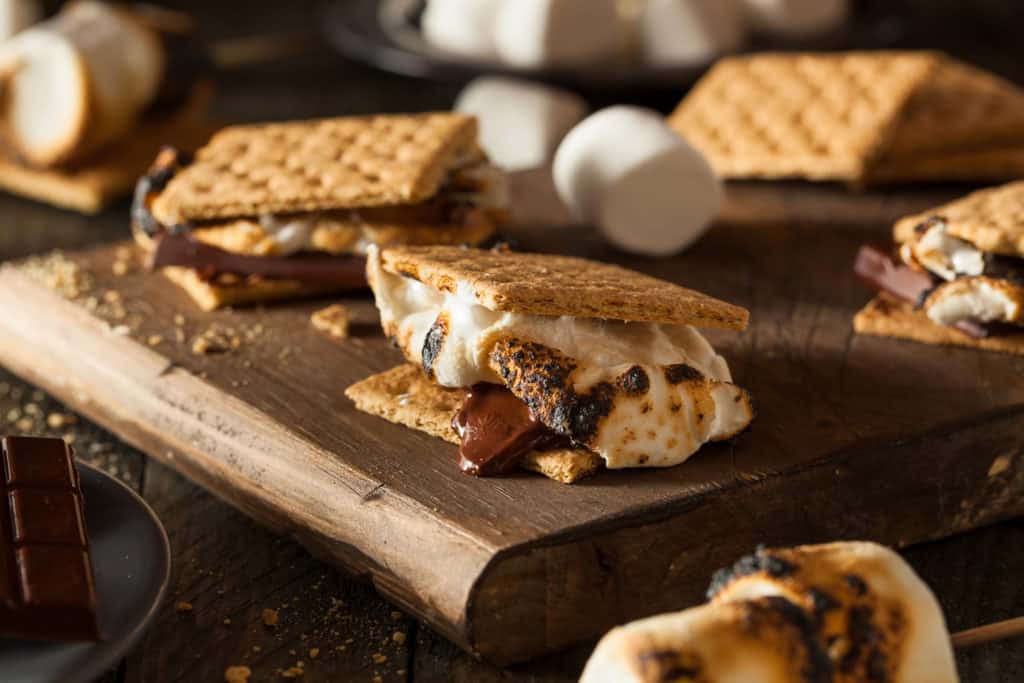
A family favorite and easy as can be.
- Graham crackers
- Hershey chocolate bars
- Marshmallows
Before you begin roasting marshmallows, wait for the fire to die down to avoid burning them. Place your marshmallow on a roasting stick, hold it at least 6 inches above your fire and roast to your preferred level of fluff and gooeyness. Try to avoid pointing your stick down as the marshmallow softens, or your marshmallow may tragically plunge to its fiery end! You can just eat that roasted marshmallow as is or turn it into a S’more by breaking a graham cracker square in half, placing a square of chocolate on one half, placing your gooey marshmallow on top and completing the treat with the second half of your graham cracker. Squish it all up and enjoy!